Wall decoration is a very important part of the whole house renovation process, because it will affect the beauty and practicality of the entire house. Many owners have discovered that bubbles, mildew, water seepage, etc. may appear on the wall over a long period of time. This is caused by the fact that the wall was not properly treated during the renovation. So what should be done to decorate the wall to avoid this problem? Let's take a look at the detailed description of the decoration wall treatment steps so that the owner can have a detailed understanding of the wall decoration process.
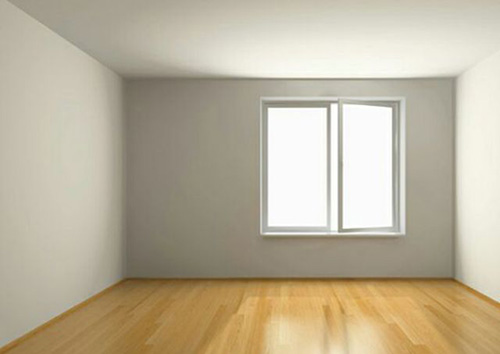
Renovation Wall Treatment Step 1: Plastering
Plastering is to paste a layer of paste made of lime and other materials on the wall. Before plastering, the surface of the wall should be cleaned first, including the cleaning of dust, loose materials, dirt, and grease on the wall. If the surface of the masonry base has obvious convex and concave parts, it should be leveled in advance or filled with cement mortar. Before plastering, it should be watered on the surface of the wall. Generally, the foundation of the brick wall will be watered twice, when the water depth of the brick surface is 8-10 mm, you can reach the requirements of plastering.
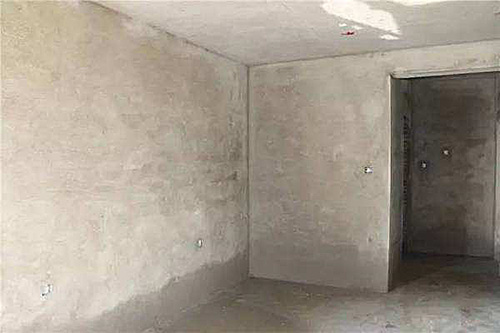
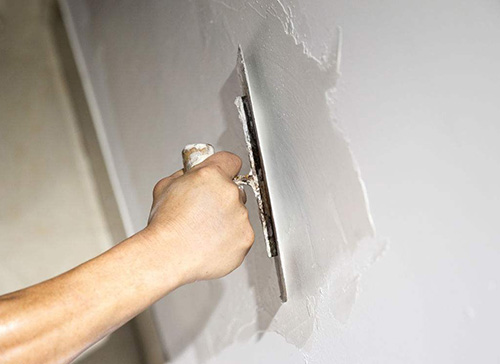
Renovation wall surface treatment Step 2: Putty
Putting putty on the wall can not only make the wall level, but also make the background of the wall uniform. The wall can be scraped twice and put on the wall. If the flatness of the wall is poor, you can brush it several times. If the slope of the wall or wall with poor flatness is large, you can consider leveling the gypsum first to level it, and then putty. The interval between scrapings of the putty should be more than 2 hours.
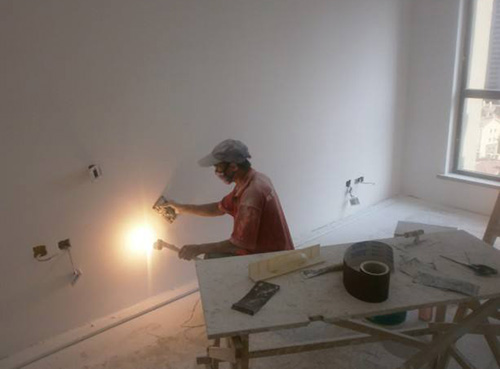
Renovation wall surface treatment step three: polishing putty
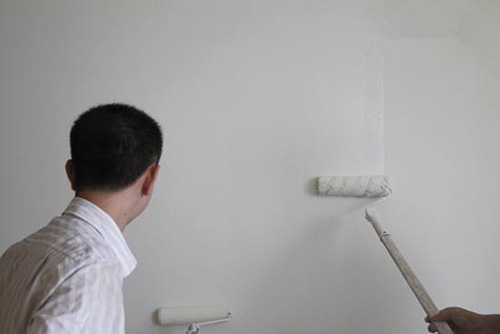
Brush painting includes two kinds of primers and topcoats. First, brush the primer. After cleaning the smooth wall dust, you can paint the primer. The primer can be applied once, but it should be evenly brushed and the next step can be carried out after it is dry. The top coat is usually brushed twice, and the time interval for each interval is 2-4 hours or more (based on the dryness of the top coat). After brushing the finish paint for the second time, it takes 1-2 days to dry completely. Before the paint is completely dry, it is necessary to pay attention to waterproof, drought, and sun protection to prevent problems with the paint film.
Editor's summary: The relevant information about the decoration wall treatment steps is introduced here, and I hope to help you. Want to know more decoration knowledge, pay attention to this site information.
Renovation Wall Treatment Price Balcony Wall Decoration Wall Decoration Decoration Diatom Mud Home Decoration Partition Wall Decoration Wall Decoration Wall Finishing
Kitchen faucet
A kitchen faucet is one of the most frequently used devices in your home. Our modern kitchen faucets offer an exciting mix of innovation, style and functionality to meet the demands of every household. We offer many types of Kitchen Sink faucets to choose from, including pull-down kitchen faucets, pull-out kitchen faucets, one, three hole faucets, faucets with multi-layer brushed nickel finishes and PVD finish ect .
Kitchen Faucet,American Standard Kitchen Faucets,Touchless Faucet,Brass Kitchen Tap
Jiangmen MEIAO Kitchen And Bathroom Co., Ltd. , https://www.meiaosink.com